
How to Clean Shadowbox Frames: A Complete Guide
Table of Contents
- What You'll Need Before You Clean Shadowbox Frames
- How to Disassemble a Shadowbox Frame Safely
- How to Remove Dust from Insect Display Cases
- Cleaning Acrylic vs. Glass Covers on Shadowbox Frames
- Alternatives to Standard Glass for Framing Insects
- Cleaning Gilded, Ornate, and Raw Timber Frames
- Troubleshooting Fogging, Residue, and Streaking
- Professional vs. DIY Cleaning: Knowing the Risks
Last Updated: August 29, 2026
What You'll Need Before You Clean Shadowbox Frames
Knowing how to clean shadowbox frames properly starts long before you pick up a cloth. The materials you choose determine whether your frame comes out spotless or scratched beyond repair. At Newman Art Designs, we've seen firsthand how the wrong cleaning product can permanently damage an acrylic cover or strip the finish from a gilded frame, and it's almost always avoidable.
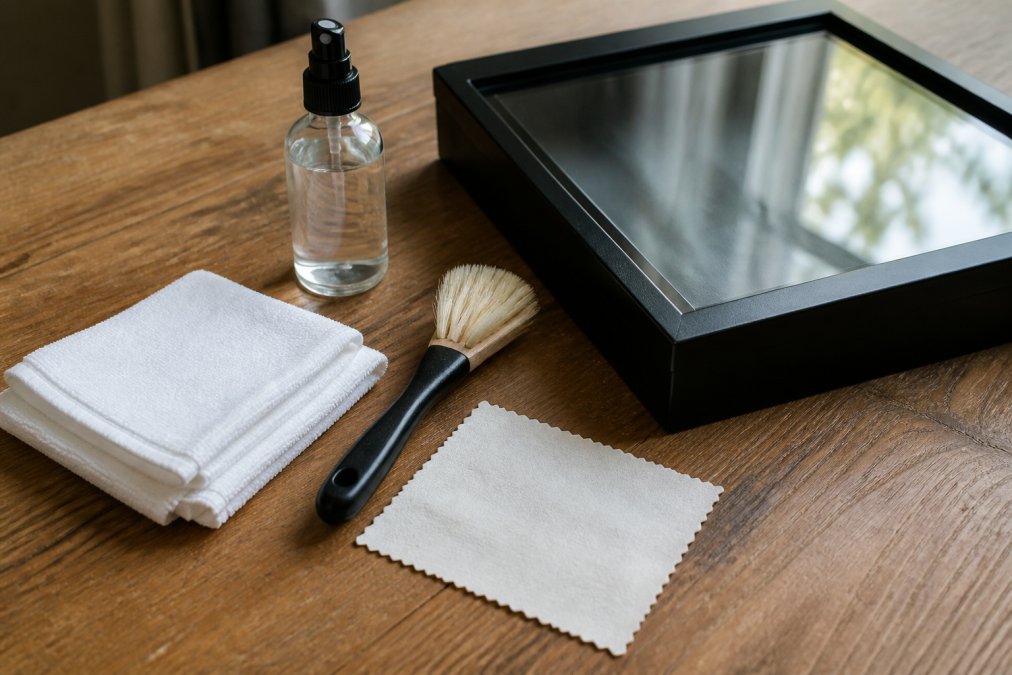
Gather these before you start:
- Two or three microfibre cloths (one for applying, one for buffing dry)
- Distilled water, tap water leaves mineral deposits on both glass and acrylic
- A soft-bristled brush, such as a clean watercolour brush or a photographer's lens brush, for interior dusting
- A lint-free cloth for final buffing
- Mild detergent (a single drop in distilled water is sufficient for stubborn grime)
- Compressed air or a soft rubber bulb blower for interior dust
- A flat, padded surface to work on, a folded towel on a table works well
What you should leave in the cupboard: paper towels, tissues, glass cleaner containing ammonia, and anything abrasive. Paper fibres scratch acrylic. Ammonia-based glass cleaner clouds acrylic covers and strips protective coatings. These are the two most common mistakes people make, and neither is fixable once the damage is done.
| Cleaning Supply | Use For | What to Avoid |
|---|---|---|
| Microfibre cloth | Wiping acrylic and glass | Paper towels, tissues |
| Distilled water | All surfaces | Tap water (mineral residue) |
| Soft-bristled brush | Interior dusting | Stiff brushes, cotton buds |
| Ammonia-free cleaner | Glass covers only | Ammonia cleaners on acrylic |
| Mild detergent (1 drop) | Stubborn grime | Harsh solvents, bleach |
| Compressed air / bulb blower | Interior specimen dusting | Vacuum nozzles directly on specimens |
How to Disassemble a Shadowbox Frame Safely
Most shadowbox frames use a simple backing system: a rear panel held by clips, tabs, or a sliding channel. Before you open anything, set your frame face-down on a padded surface and assess how it's assembled. Rushing this step is where frames get dropped and glass gets cracked.
Work through the process methodically:
- Place the frame face-down on a folded towel.
- Locate the backing clips or tabs around the perimeter and release them one at a time.
- Lift the backing panel straight up, don't angle it, as this can dislodge mounted specimens.
- Set the backing aside in a safe, flat location.
- If the cover (glass or acrylic) is loose, lift it straight up and place it on a separate padded surface.
Protecting the Frame Backing and Mounting
The frame backing is where your specimens live. Handle it as you would a framed photograph, horizontal, face-up, never tilted. If the mounting uses pins, foam board, or adhesive strips, avoid pressing down on the surface or touching the specimens directly.

For frames containing pinned insects or skeletal specimens, keep the backing horizontal at all times during cleaning. Tilting it even slightly can cause a pinned specimen to shift. If a specimen has worked loose, resist the urge to repin it yourself without proper entomological tools.
How to Remove Dust from Insect Display Cases
Dust removal from insect display cases requires patience more than products. The goal is to dislodge dust without creating static electricity that pulls it back onto the surface or specimen.
Start with the interior. With the backing removed and set flat, use a compressed air canister or rubber bulb blower held at least 10-15 centimetres from the specimen. Short, controlled bursts work better than one long blast. Work from top downward so displaced dust falls away from specimens below.
A soft-bristled brush can address dust that compressed air won't shift. Use the lightest possible pressure and brush in one direction only, never scrub back and forth.
Handling Delicate Shadow Box Contents
Delicate shadow box contents, pinned butterflies, beetle specimens, snake skeletons, should never be touched with bare hands. The natural oils from skin accelerate deterioration of preserved specimens, and even gentle contact can break antennae, legs, or fine skeletal structures.
If you need to reposition a backing panel, hold it by its edges. Use soft cotton gloves if you need to handle the backing surface directly. As noted in guidance from Museums Australia conservation resources, minimising direct contact with preserved specimens is one of the most important principles of long-term collection care.
Static Electricity Management
Static electricity is the hidden enemy of acrylic-covered display cases. Acrylic builds a static charge easily, and that charge actively attracts dust particles back to the surface seconds after you've wiped it clean. This is why acrylic covers seem to attract more dust than glass, it's a physics problem, not a cleaning failure.
The practical fix: use an anti-static microfibre cloth, or apply a tiny amount of anti-static spray to your cloth before wiping (never directly onto the acrylic). Wiping in one direction rather than circular motions also reduces charge build-up. Cleaning on a mild, slightly humid day produces better results than in dry conditions.
Cleaning Acrylic vs. Glass Covers on Shadowbox Frames
Cleaning acrylic and glass covers requires completely different approaches. Treating acrylic like glass is the fastest way to permanently scratch or cloud a cover that may cost more to replace than the frame itself.
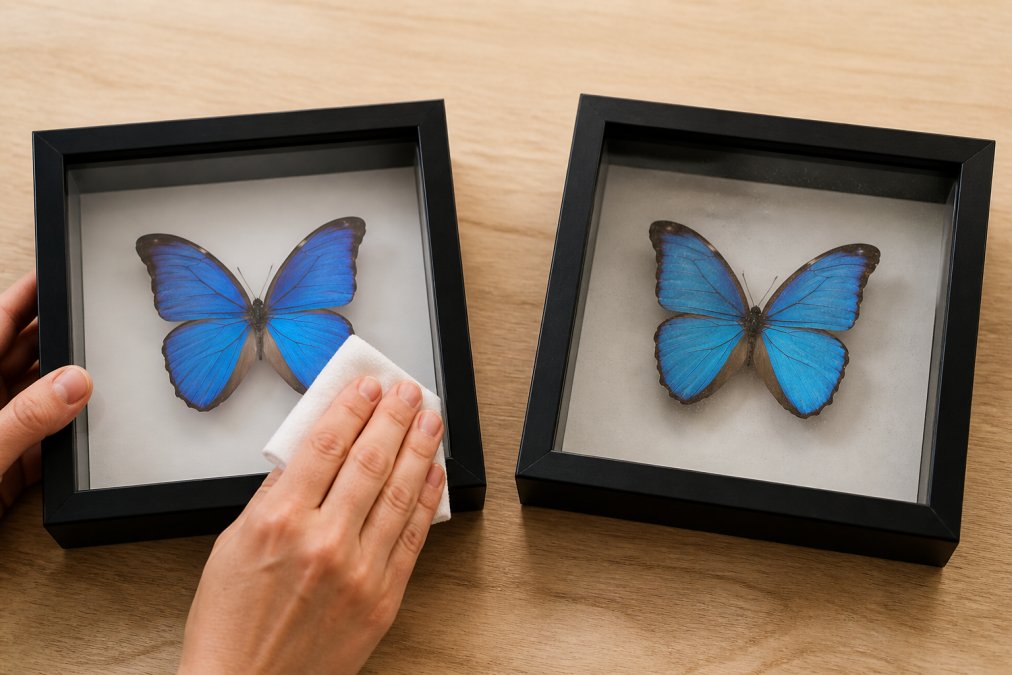
Cleaning Acrylic (Plexiglass) Covers
Acrylic is scratch-sensitive and reacts badly to solvents. The correct method is straightforward but requires discipline.
- Rinse the microfibre cloth with distilled water and wring it until just damp, not wet.
- Apply light, even pressure and wipe in straight lines from one edge to the other.
- Never use circular motions; they create visible swirl scratches on acrylic.
- For stubborn smudges, add a single drop of mild detergent to your distilled water solution.
- Follow with a dry lint-free cloth, again using straight strokes, to prevent streaking.
- Allow to air dry fully before reassembling.
Avoid: window cleaners, alcohol-based products, acetone, and anything labelled "multi-surface." All damage acrylic. According to guidance on acrylic care and maintenance, even mild abrasives found in some household cleaners will permanently dull an acrylic surface over time.
Cleaning Glass Covers
Glass is more forgiving than acrylic, but it still requires care. An ammonia-free glass cleaner is the appropriate choice; ammonia-based products can damage frame finishes and decorative coatings on the glass itself.
- Apply ammonia-free glass cleaner to a microfibre cloth (not directly to the glass).
- Wipe in straight lines, applying light pressure.
- Buff dry immediately with a second dry microfibre cloth to prevent streaking.
Glass is scratch-resistant compared to acrylic, but grit or debris trapped in the cloth will scratch it. Always shake out or rinse cloths before use.
Alternatives to Standard Glass for Framing Insects
Standard glass is the traditional choice for insect display cases, but it is not always the best one. Several alternatives offer specific advantages depending on how and where the frame is displayed.
UV-filtering acrylic is the most practical upgrade for most collectors. It blocks a significant portion of ultraviolet light, which is the primary cause of colour fade in preserved specimens over time. For a piece like the Morpho didius Butterfly in a Frame, whose iridescent blue wings depend on microscopic structural coloration, UV protection is genuinely worth having. Standard glass transmits UV light freely.
Museum glass is a low-reflection, UV-filtering glass used in professional conservation framing. It produces almost no glare and is the preferred choice in gallery settings. The trade-off is cost and weight.
Standard acrylic (without UV filtering) is lighter than glass and shatter-resistant, making it practical for high-traffic areas or homes with children. Its vulnerability to scratching is the main limitation.
For most home collectors, UV-filtering acrylic represents the best balance of protection, weight, and practicality. As noted in conservation framing guidance from the Australian Institute for the Conservation of Cultural Material, UV filtration is one of the most effective passive measures for slowing specimen and artwork deterioration.
Cleaning Gilded, Ornate, and Raw Timber Frames
Ornate frames demand a different mindset entirely. The goal shifts from cleaning to preservation, removing surface dust without disturbing gilding, paint, or timber finish.
Gilded frames are among the most fragile. Gold leaf is applied in extremely thin sheets and can be lifted or abraded by even moderate pressure. For light dusting, a dry soft-bristled brush is the only appropriate tool. Work in short, gentle strokes following the contours of the frame. Never use damp cloths on gilded surfaces; moisture causes the underlying gesso to swell and the gold leaf to detach.
Painted or lacquered ornate frames can tolerate a very lightly damp microfibre cloth for surface grime, but test an inconspicuous area first. Some painted finishes are water-sensitive.
Raw timber frames should be dusted with a dry cloth only. If the timber has been treated with wood oil, a very lightly damp cloth followed by immediate drying is acceptable. Never use general-purpose cleaners on raw timber; they strip the wood oil and dry the grain.
Troubleshooting Fogging, Residue, and Streaking
Fogging, residue, and streaking are the three most common complaints after cleaning a shadowbox cover, and each has a distinct cause.
Fogging on acrylic usually means a solvent-based cleaner was used, the cloth was too dry and created friction heat, or the acrylic has micro-scratches. Solvent damage is permanent. Micro-scratch fogging can sometimes be improved with a purpose-made acrylic polish applied with a microfibre cloth using light circular motions, but it cannot be fully reversed. Prevention is the only reliable answer.
Streaking on glass is almost always caused by mineral deposits from tap water or insufficient drying. Reclean with distilled water and a clean cloth, then buff dry immediately with a second cloth before any moisture evaporates on its own.
White residue on either surface typically indicates hard water deposits. Distilled water eliminates this entirely. If residue is already present, a very dilute solution of white vinegar in distilled water (roughly one part vinegar to ten parts water) on a microfibre cloth will dissolve mineral deposits from glass without damaging it. Do not use vinegar on acrylic.
Persistent interior fogging, visible inside the frame after reassembly, suggests condensation rather than a cleaning issue. Ensuring the frame is stored away from direct sunlight and temperature extremes reduces the likelihood of recurrence.
Professional vs. DIY Cleaning: Knowing the Risks
Most routine cleaning of shadowbox frames is well within DIY territory. Exterior surfaces, frame bodies, and glass covers respond well to the methods described above, and there is no compelling reason to pay a professional for standard maintenance.
The calculus changes with three specific scenarios.
First, if the frame contains a rare, high-value, or irreplaceable specimen, such as a type specimen or a piece with significant provenance, the risk of DIY handling outweighs the convenience. A professional conservator who works with natural history collections has the tools and training to clean and rehouse specimens without damage.
Second, if you notice active deterioration, mould growth inside the frame, evidence of pest activity, or a specimen that has begun to degrade, stop and seek professional advice. Cleaning over active deterioration can spread the problem rather than solve it.
Third, gilded or antique frames with fragile surfaces are best assessed by a professional before any cleaning attempt. The cost of a conservator's assessment is considerably less than the cost of replacing damaged gilding.
For collectors who want their pieces to last decades, the Australian Institute for the Conservation of Cultural Material's find a conservator service is the appropriate starting point for locating qualified natural history conservators.
The challenge with any preserved natural specimen is that the cleaning process itself carries risk. Newman Art Designs frames each piece using museum-quality preservation techniques specifically designed for longevity, but even the best-made frame benefits from careful, informed maintenance. Whether you're caring for the Triple Stag Beetles in a Frame or a Coiled Snake Skeleton in a Frame, the methods above will keep your display looking its best without putting the specimen at risk. Browse the Newman Art Designs collection to find a piece worth preserving.


Frequently Asked Questions
How do you clean the inside of a sealed shadowbox frame?
Most shadowbox frames can be partially disassembled by removing the frame backing or lifting out the acrylic or glass cover. Once open, use a soft-bristled brush or a lint-free cloth to gently dust the interior. Avoid spraying any liquid directly inside. If the frame is fully sealed and cannot be opened, a can of compressed air directed carefully through any gap is the safest option for removing loose dust without disturbing the specimen.
What is the best way to clean acrylic shadowbox covers without scratching?
Always use a clean microfibre cloth dampened with distilled water or a mild, ammonia-free cleaning solution. Never use paper towels, dry cloths, or standard glass cleaner on acrylic, as these cause fine scratches. Apply very light pressure and wipe in one direction rather than circular motions. For stubborn smudges, a small amount of mild detergent diluted in distilled water works well. Allow the surface to air dry or blot gently, never rub while drying.
Can I use glass cleaner on insect display shadowboxes?
Only if the cover is genuine glass and the cleaner is ammonia-free. Standard glass cleaners containing ammonia will cloud and permanently damage acrylic covers. For insect display shadowboxes specifically, avoid spraying any cleaner directly onto the frame, spray onto the cloth first. This prevents liquid from seeping inside and contacting the preserved specimen, which could cause irreversible moisture damage to the mounting and the insect itself.
How do I remove dust from inside a shadowbox without damaging the specimen?
Open the frame carefully by removing the backing. Use a very soft-bristled brush, a clean, dry watercolour brush works well, to lightly sweep dust away from the specimen and the interior glass surface. Work from the specimen outward. A lint-free cloth can then wipe the interior glass or acrylic. Never blow directly onto a pinned or mounted specimen with your mouth, as moisture from breath can cause residue. Compressed air held at least 20 centimetres away is a safer alternative.
This article was written using GrandRanker
